Item categories help you group similar products and services. A clear category setup makes item selection, reporting, and tax assignment easier for your team.
Use categories for groups such as Software Services, Banking Services, Office Management, Assets, Electronics, or any structure that matches how your business sells and purchases.
Before you start
Keep these details ready before creating a category:
- Name: The category name, such as Electronics or Software Services.
- Code: A short code, such as ELEC or SOFT.
- Type: Choose whether the category is for Product or Service items.
- Parent Category: Optional. Use this when the category belongs under another category.
- Tax Group: Optional. Assign a default tax group when items in this category usually use the same tax setup.
- Description: Optional internal notes for your team.
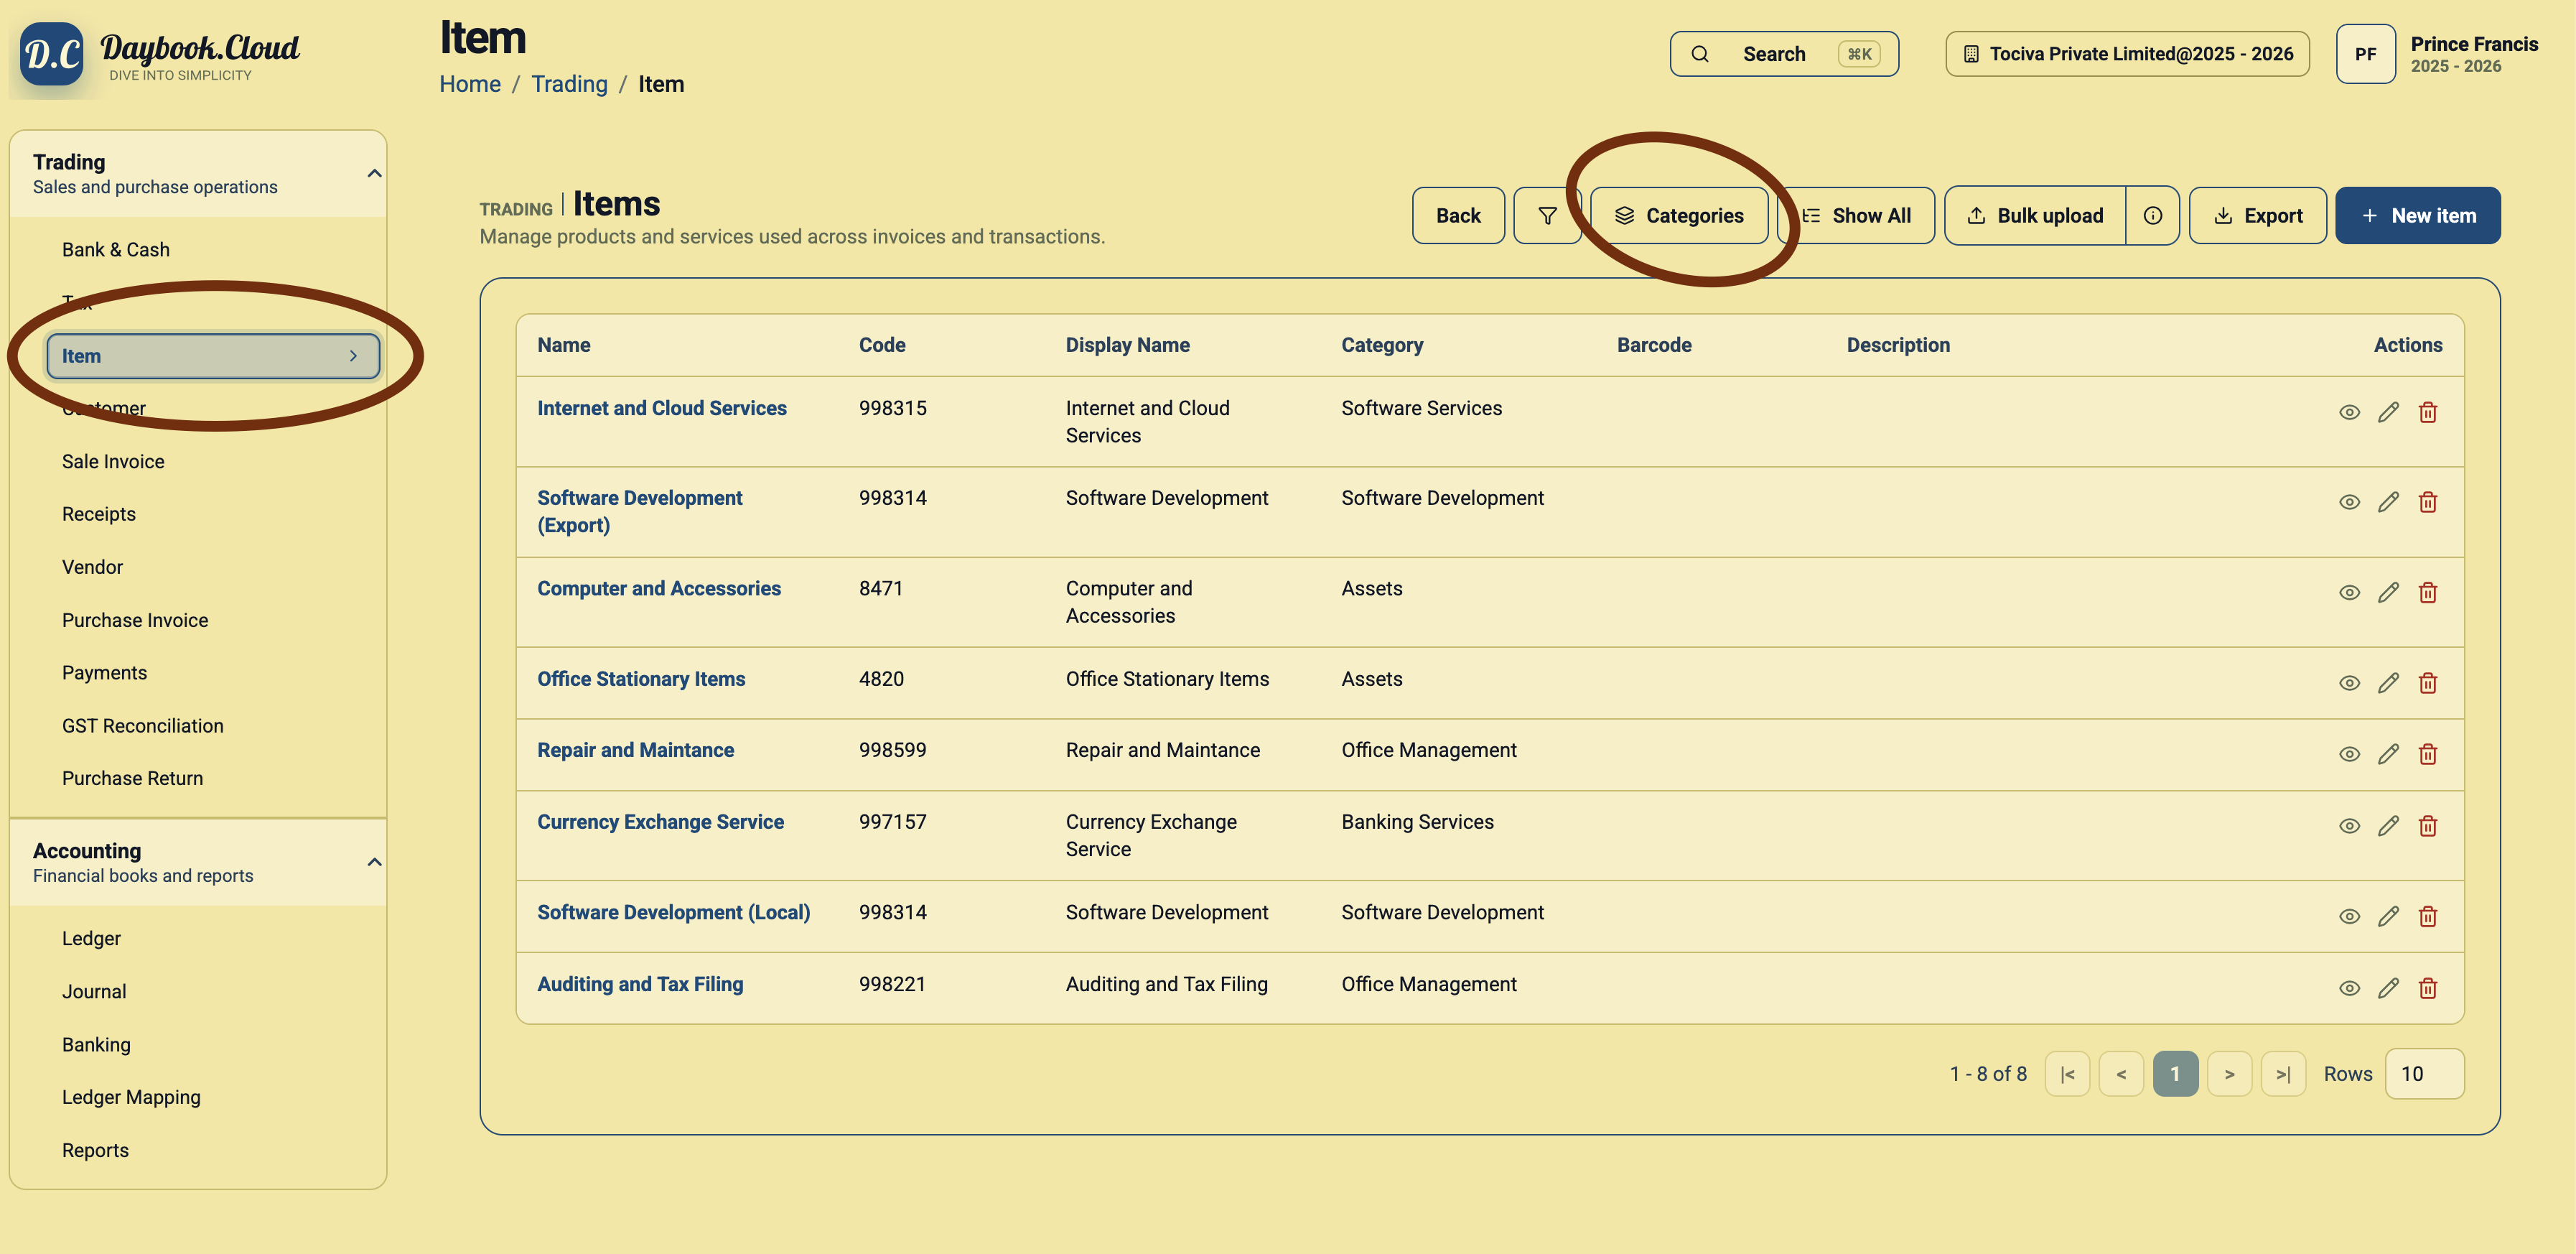
Step 1: Open Item Categories
Go to Trading, open Item, and click the Categories button. This opens the Item Categories page.
Step 2: Review existing categories
The Item Categories page lists the categories already created in your company. Review the name, code, type, parent category, and description before adding a new one.
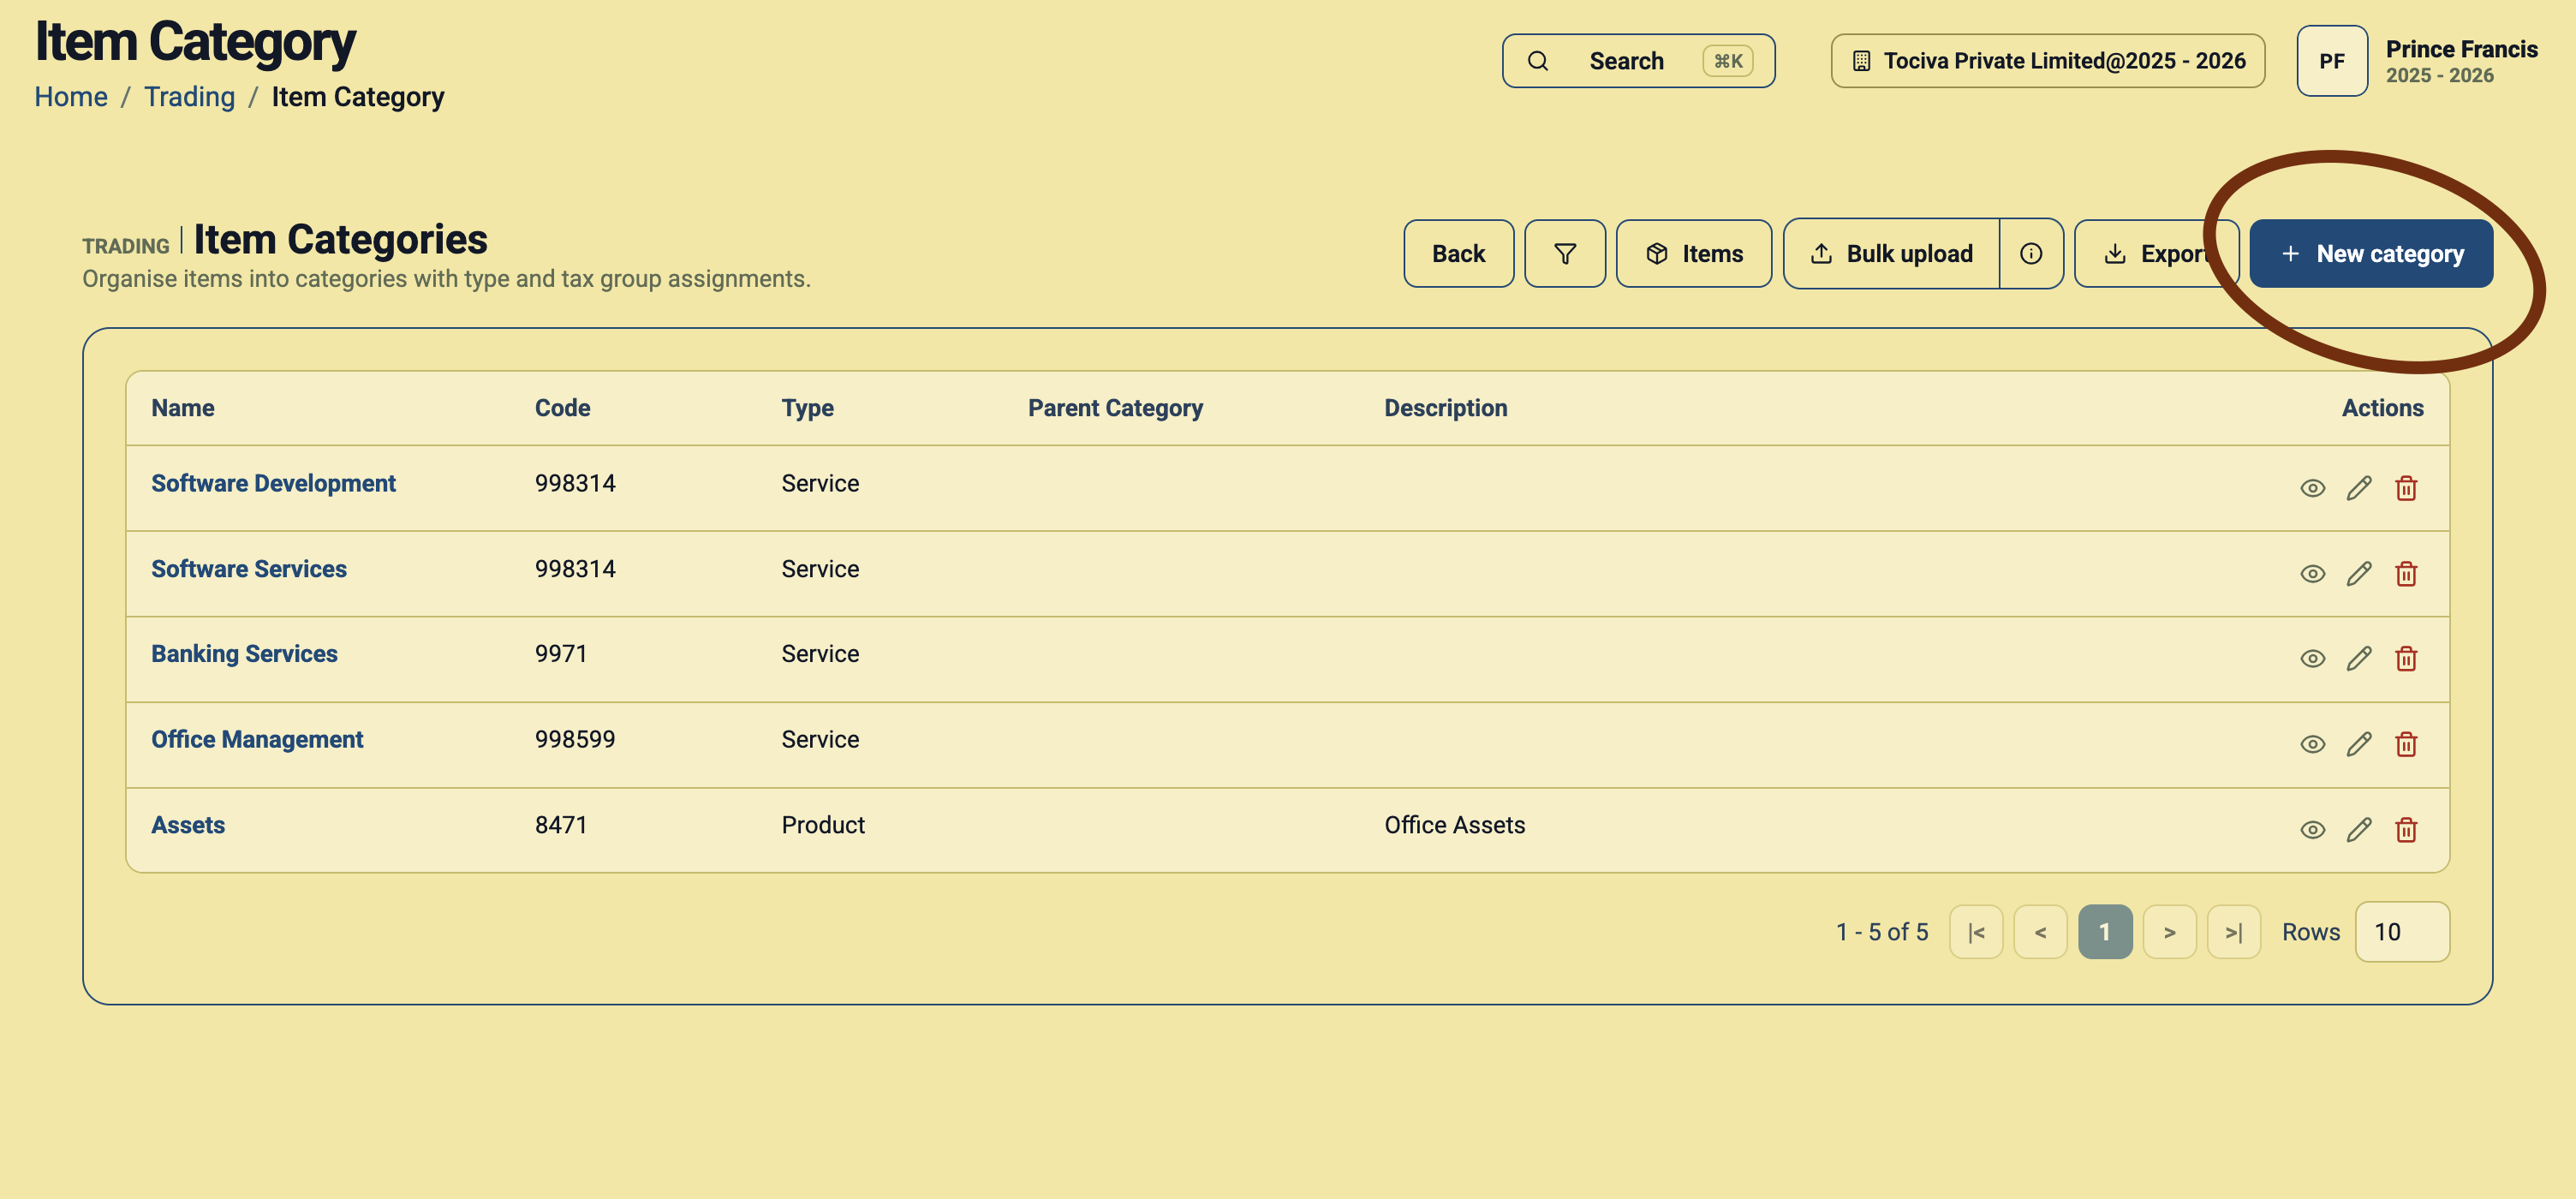
Step 3: Click New category
Click New category. Daybook.Cloud opens the Create Category form.
Step 4: Fill the category identity
Enter the category name and code. Use simple names and codes that your team can recognise quickly.
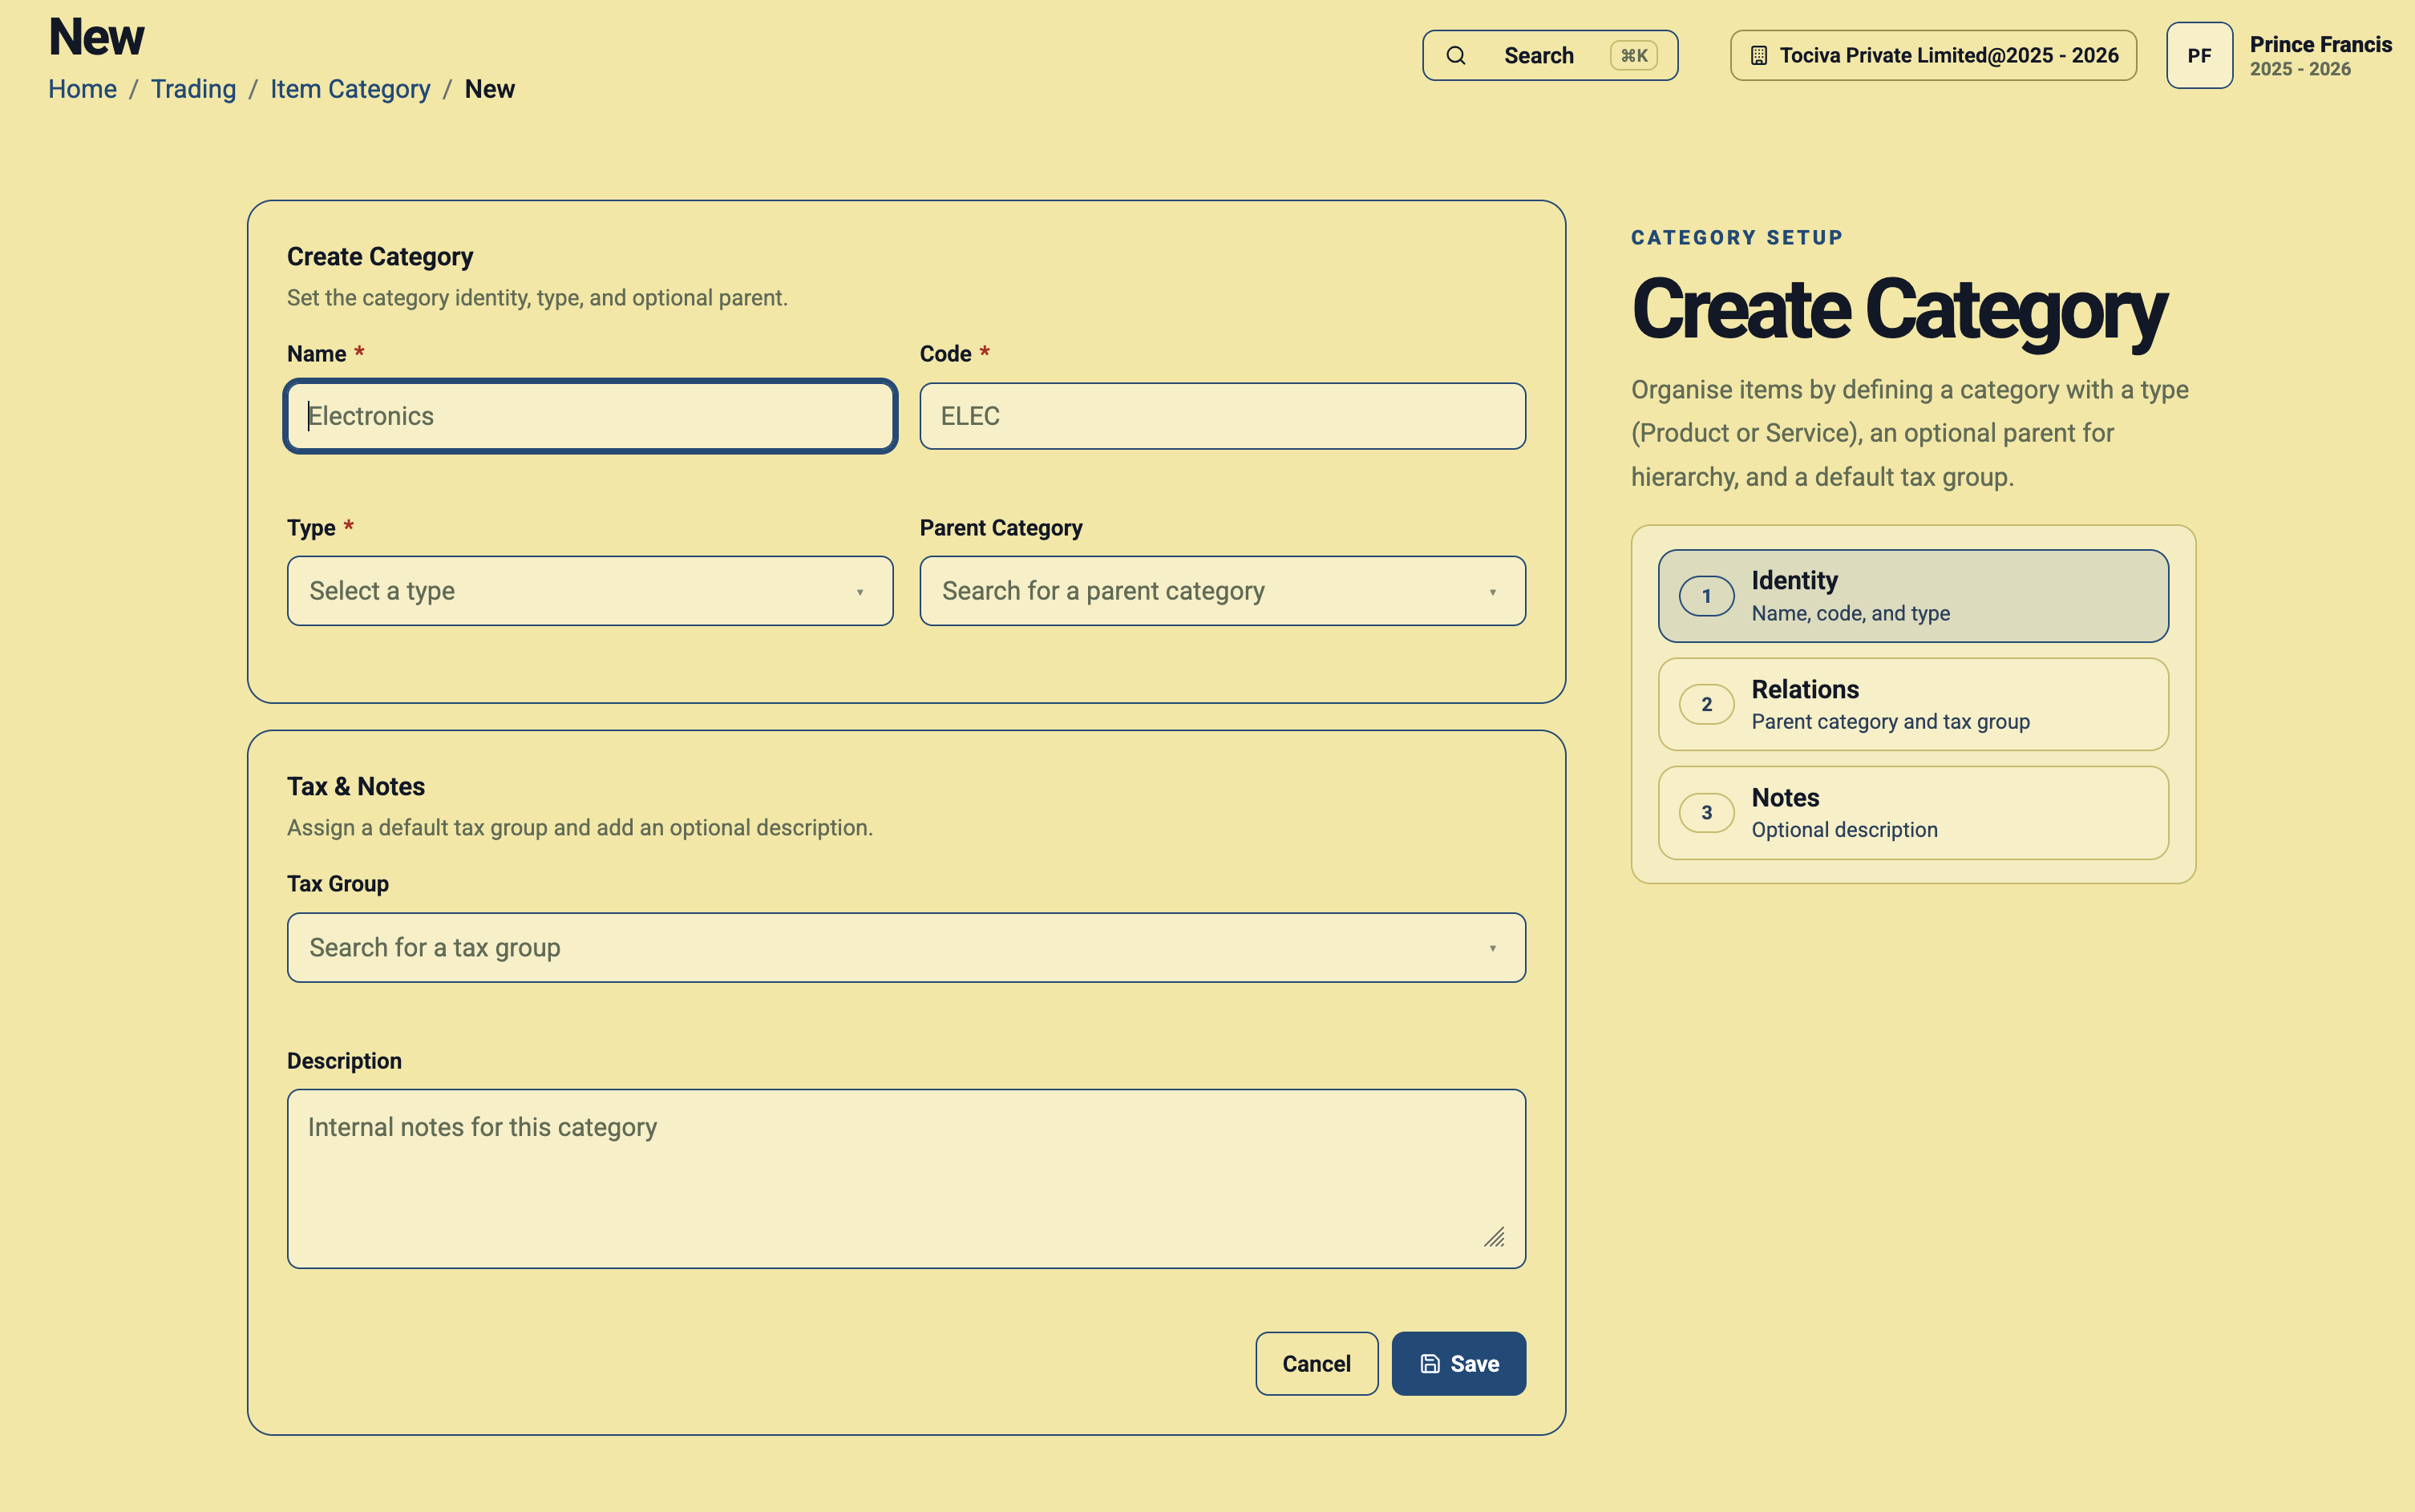
Example: Electronics
- Name: Electronics
- Code: ELEC
- Type: Product
- Parent Category: Optional, such as Assets if Electronics belongs under Assets.
- Tax Group: Select the default tax group if most electronics use the same GST setup.
- Description: Internal notes for this category.
Step 5: Select Product or Service
The Type field decides whether this category is used for products or services. Choose Product for physical goods and Service for services such as software development, support, or consulting.
Step 6: Add a parent category when needed
Parent categories help build a hierarchy. For example, you can create Assets as a parent category and place Computer and Accessories under it.
Step 7: Assign a default tax group
If items in this category usually use the same tax group, select it in the Tax Group field. This helps your team apply consistent tax settings when creating or using items.
Step 8: Save the category
After filling the required fields and optional notes, click Save. The category will appear in the Item Categories list and can be used while creating items.
Simple checklist
- Use clear category names.
- Use short, recognisable category codes.
- Choose Product or Service correctly.
- Add a parent category only when hierarchy is useful.
- Assign a default tax group when the category has a common tax setup.
- Write descriptions that help your team understand when to use the category.